
 Welcome to Outcampers

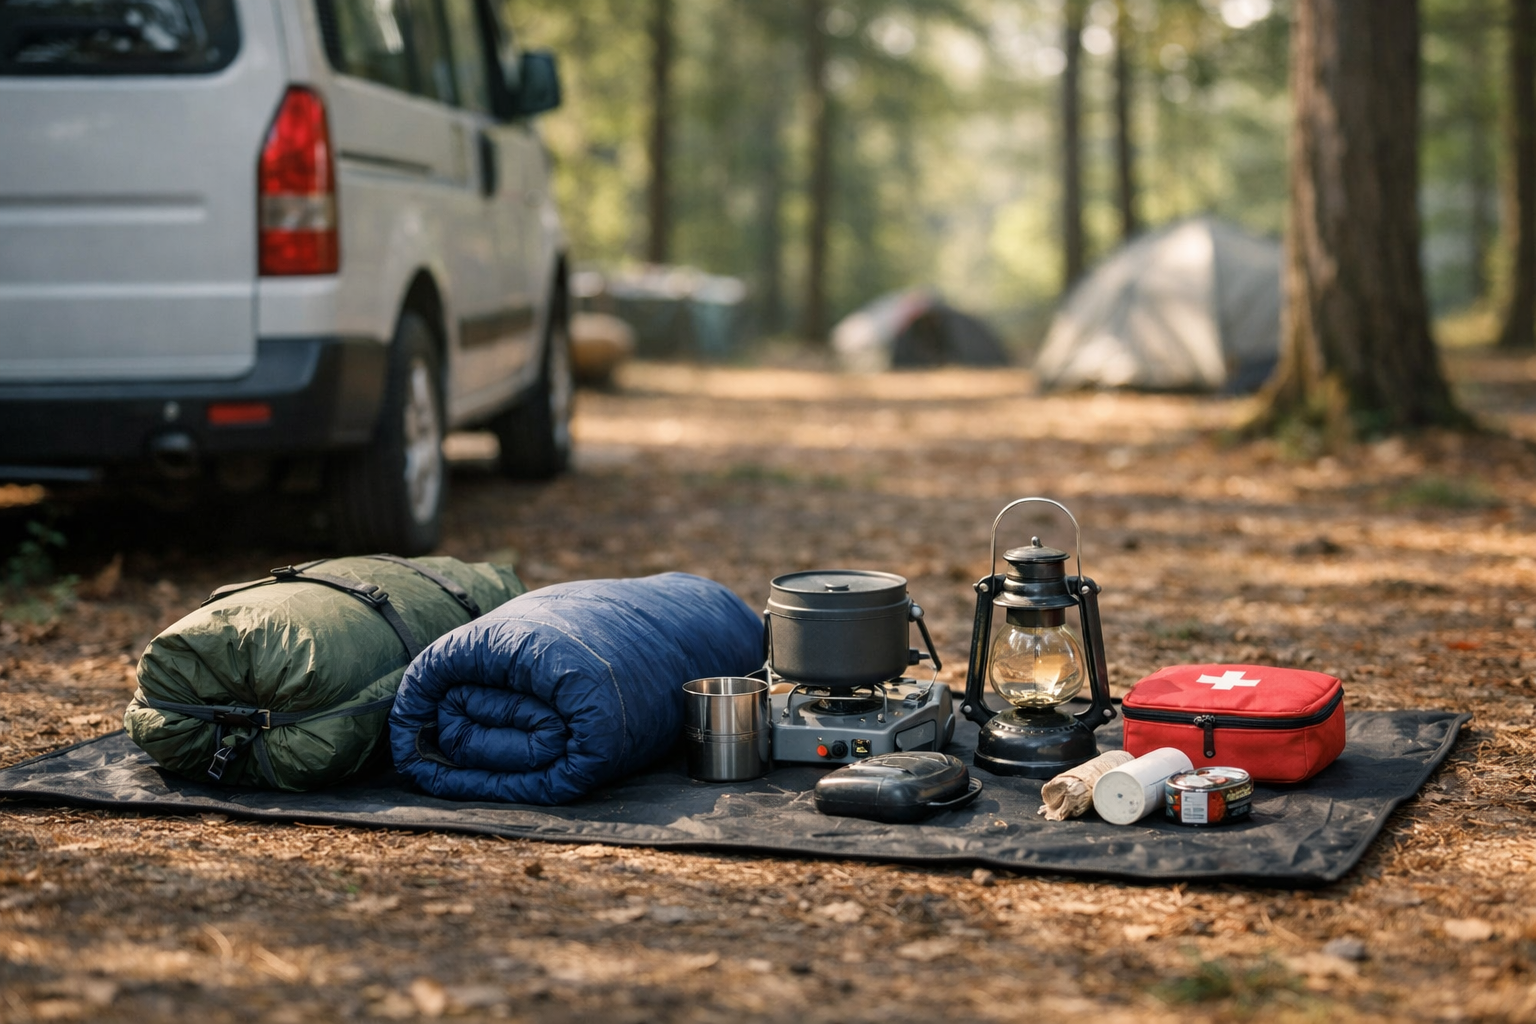
Why a Weekend Checklist Matters
A weekend trip should feel like a reset, not a scavenger hunt for missing tent pegs. Most camping headaches come from the same three issues: forgetting one key item, overpacking random extras, or packing in a way that makes gear hard to find when you need it. A simple checklist solves all three. Use it once, tweak it for your style, and your next trip gets easier automatically.
The quick rule
Pack by system, not by item. Think: shelter, sleep, kitchen, clothing, safety, comfort. If every system is covered, you are ready.
Step 1: Match your checklist to your camping style
Before you pack, decide which of these you are doing:
- Car camping (parking near your pitch)
- Campervan camping (sleeping in the van, cooking outside)
- Short hike-in (a short walk from the car to the spot)
- Backpacking (weight matters, keep it minimal)
Your core list stays the same, but quantities change. Car camping can be comfortable. Backpacking should be lean.
Step 2: Shelter system
Essentials
- Tent (or campervan sleeping setup)
- Footprint or groundsheet (protects the floor, keeps things cleaner)
- Stakes and guylines (bring a few spares)
- Mallet or small hammer (optional but very helpful)
- Tarp or awning (great for rain, shade, and cooking cover)
- Headlamp each (hands-free beats phone lights every time)
Smart additions for unpredictable weather
- Extra guyline and tensioners
- Small repair kit: duct tape wrap, needle and thread, spare buckle, patch kit
- Microfiber towel (fast drying, useful for condensation)
Packing tip: keep stakes, guylines, and mallet together in one pouch. If you can set up shelter without opening three bags, you win.
Step 3: Sleep system
Essentials
- Sleeping bag or quilt rated for the season
- Sleeping pad (insulation matters as much as comfort)
- Pillow (camp pillow or a stuff sack with a hoodie)
- Sleep clothes (clean, dry, and only for sleeping)
Comfort and warmth upgrades
- Sleeping bag liner (adds warmth, keeps the bag cleaner)
- Earplugs (campgrounds can be surprisingly noisy)
- Eye mask (late sunsets or bright campsite lights)
Quick warmth check: nights can feel colder than forecast because humidity, wind, and tired bodies change the game. If you are unsure, pack one extra warm layer for sleep.
Step 4: Kitchen and food
Essentials
- Stove and fuel (check compatibility, pack enough for the trip)
- Lighter plus backup (matches or fire starter)
- Cook pot or pan (one pot is fine for weekends)
- Spork or cutlery, mug, bowl/plate
- Water system (bottles or jerry can)
- Cooler bag or food box (depending on your meals)
- Trash bags (pack out everything)
Food planning that actually works
Plan meals around these three ideas:
- Fast breakfast (oats, yoghurt, sandwiches, fruit)
- One main meal (one-pot pasta, rice bowl, stew, curry)
- Always-on snacks (nuts, trail mix, cheese, jerky, chocolate)
Bring one “no-cook” backup dinner. If rain hits hard, you will thank yourself.
Food safety basics
- Keep raw meat sealed and separate
- Wash hands (or use sanitizer) before cooking
- Do not leave food out overnight
- If in doubt, keep it simple: vegetarian meals are easier to store safely
Step 5: Clothing system
The basic layering set
- Base layer (breathable top)
- Insulating layer (fleece or light puffy)
- Waterproof shell (jacket)
- Hiking trousers or shorts
- Extra socks (at least one spare pair)
- Hat or cap, plus a warm beanie in cooler months
Shoes and camp comfort
- Hiking shoes or boots
- Camp shoes (slides or light trainers)
- Optional: gaiters for muddy seasons
Clothing rule: one full dry set stays in the bag. If your day clothes get wet, you still have a reset outfit.
Step 6: Safety and essentials
Must-haves
- First aid kit (include blister care)
- Personal meds (if any)
- Power bank and charging cable
- Map or offline navigation (phone on airplane mode still works with downloaded maps)
- Emergency whistle
- Sunscreen and insect repellent
- Small torch as backup
If you are in remote areas
- Emergency blanket (light, cheap, useful)
- Extra water capacity
- Basic tool or multitool
- Car jump starter or booster (for road trips)
- Reflective vest and warning triangle where required
Step 7: Camp comfort (optional but high impact)
- Camp chairs
- Lantern or string light (keep brightness respectful)
- Small table
- Games or cards
- Book or journal
- Coffee kit (camp coffee feels like a luxury)
Step 8: The 10-minute pack method
This is the fastest way to pack without forgetting things.
- Lay out gear by system: shelter, sleep, kitchen, clothing, safety, comfort.
- Do a 30-second scan: “Do I have the one item that makes this system work?” (for shelter: stakes; for kitchen: lighter; for sleep: pad).
- Pack heavy items low and close to your back (or centered in the car/van).
- Put “first needed” items on top: headlamp, tarp, rain jacket.
- Keep a small “arrival pouch”: stakes, headlamp, knife/multitool, toilet kit.
Step 9: Campsite arrival checklist
When you arrive, do these before unloading everything:
- Check wind direction and avoid low spots (water pools there)
- Look up for dead branches (widowmakers)
- Confirm ground is flat enough for sleeping
- Identify toilets and water points
- Decide where cooking will happen (away from sleeping area)
Step 10: A final checklist you can copy
Shelter
Tent/van setup, footprint, stakes, guylines, tarp/awning, headlamp
Sleep
Sleeping bag, pad, pillow, sleep clothes, liner (optional)
Kitchen
Stove, fuel, lighter + backup, pot, mug, cutlery, water, trash bags
Clothing
Layers, rain jacket, spare socks, camp shoes
Safety
First aid, navigation, power bank, sunscreen, insect repellent, whistle
Comfort
Chair, lantern, towel, snacks, small extras
Closing tip: Make your checklist reusable
After the trip, do one tiny improvement: write down what you missed and what you never used. Your checklist should evolve into a personal, reliable system. That is how weekend camping becomes easy.