
 Welcome to Outcampers

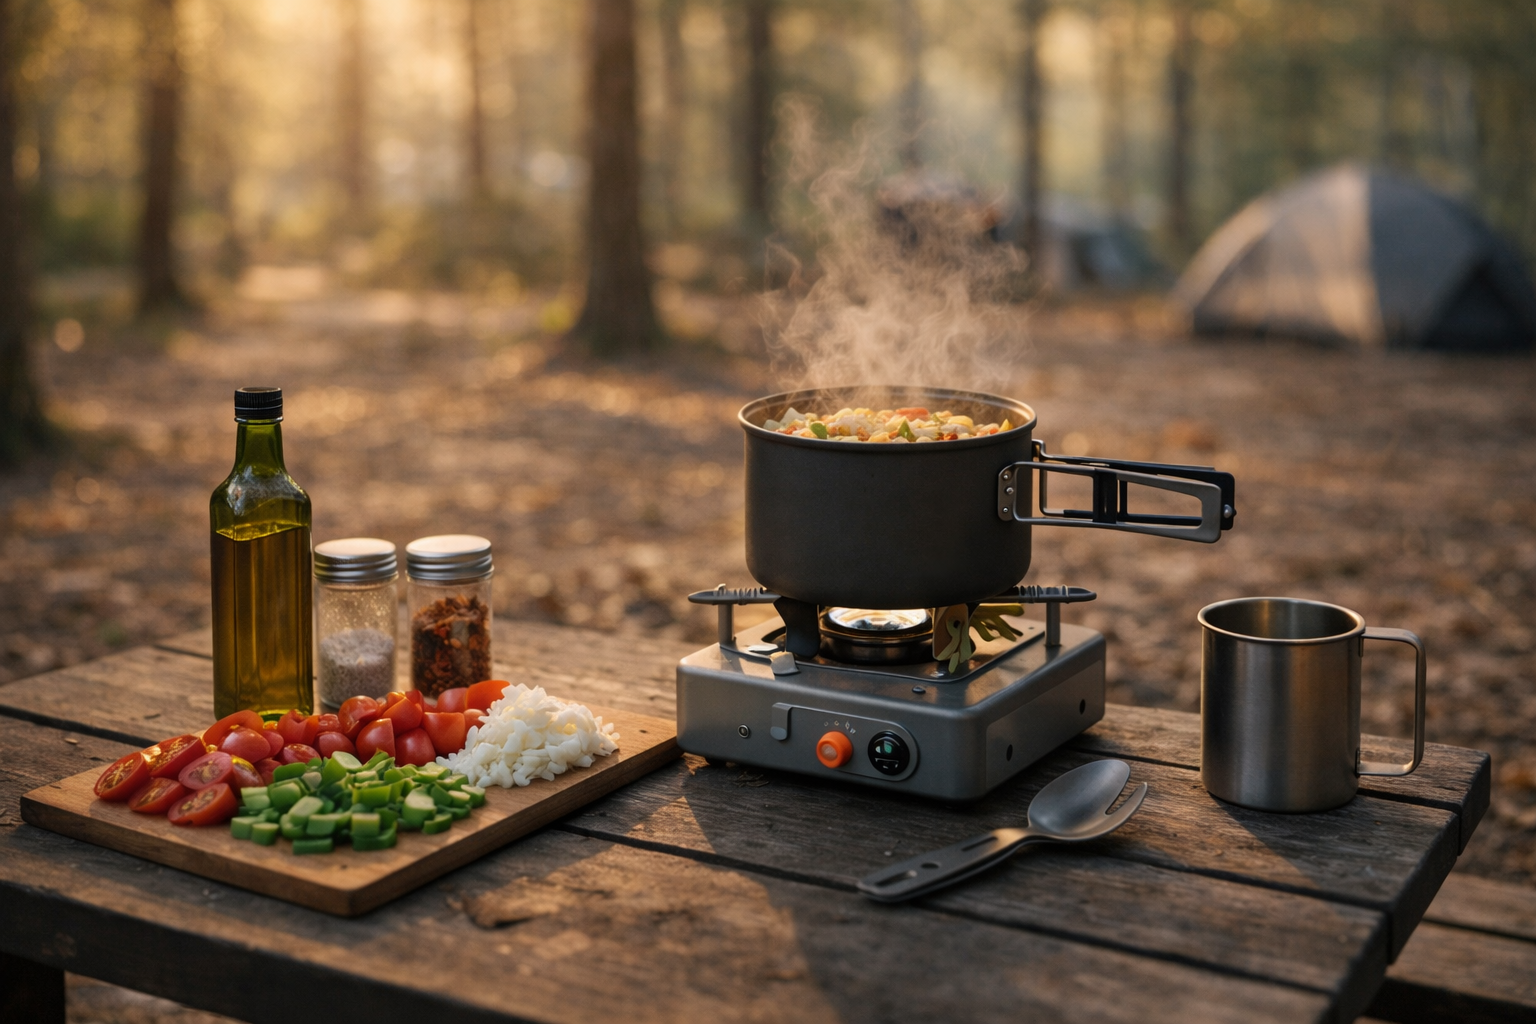
The 9 Step Guide to Master Stress Free Simple Camp Cooking
The best camp meals are not the fanciest. They are the ones you can cook reliably when you are tired, when the weather changes, and when daylight fades. A simple kitchen setup plus a few repeatable meal formulas will keep you fed, warm, and happy – without carrying a full home kitchen.
This guide covers:
- A basic cooking kit that works for most trips
- One-pot meal ideas you can rotate
- Food safety that makes sense outdoors
- Cleanup tricks that save time and water
9 Essential Secrets to a Lightweight and Functional Camp Kitchen
Step 1: Build a simple camp kitchen setup
The core kit
- Stove (gas canister or liquid fuel)
- Fuel (always bring a little extra)
- Lighter plus backup ignition
- One pot with lid (1-2 liters is a sweet spot)
- Spork or spoon + small knife
- Mug and bowl (or eat from the pot)
- Small cutting board (optional but useful)
- A windscreen (improves efficiency if safe with your stove)
- Water container (bottles or jerry can)
- Trash bags and a small zip bag for food scraps
Helpful extras
- Small frying pan (for breakfast or wraps)
- Collapsible sink or bowl (for washing up)
- Biodegradable soap (use sparingly and away from water sources)
- Reusable food containers
- Microfiber towel
Key idea: one pot plus one utensil is enough for most weekend meals.
Step 2: Pick the right stove for your style
Canister gas stoves
Fast, clean, beginner-friendly. Ideal for most summer and shoulder-season trips. In cold weather, performance can drop unless you use winter blends or specific systems.
Liquid fuel stoves
More complex, but can work well in cold conditions and remote areas. Often favored for long expeditions. For most casual campers, canister stoves are simpler.
Integrated stove systems
These combine pot and burner for speed and efficiency. Great when you want fast boiling, simple packing, and less fuss.
Step 3: Plan meals using 3 easy formulas
Meal planning gets easier when you stop chasing “recipes” and use templates.
Formula A: Pasta + sauce + protein + veg
- Pasta (or noodles)
- Jarred sauce or tomato paste + spices
- Protein: tuna, beans, sausage, or tofu
- Veg: spinach, peppers, mushrooms
Tip: add olive oil and spices for big flavor with small weight.
Formula B: Rice or couscous + seasoning + mix-ins
Couscous is fast and fuel-efficient. Rice takes longer but is satisfying. Mix in:
- Lentils or chickpeas
- Dried herbs, curry powder, or paprika
- Nuts for crunch
- Dried fruit for sweet-salty balance
Formula C: Soup or stew base + carbs
Use a soup pouch, bouillon, or miso. Add noodles, rice, or bread. Throw in whatever you have: veggies, beans, shredded chicken. Soups are perfect when the weather turns cold and wet.
Step 4: Easy one-pot meal ideas (camp-tested)
1) One-pot tomato tuna pasta
Cook pasta, drain most water, stir in tomato sauce and tuna, season with chili flakes and herbs.
2) Quick curry couscous
Boil water, add couscous, curry powder, canned chickpeas, and raisins. Finish with a squeeze of lemon if you have it.
3) Mountain ramen upgrade
Cook noodles, add peanut butter, soy sauce, and veggies. Top with a boiled egg if you carry eggs safely.
4) Breakfast oats with upgrades
Oats + hot water or milk. Add banana, nuts, honey, and cinnamon. Fast, filling, and low cleanup.
5) One-pan wrap fillings (optional pan)
Fry onions and peppers, add beans or sausage, stuff into wraps. Wraps are easy to store and flexible.
Step 5: Food safety outdoors (simple and practical)
Food safety is about reducing risk, not being perfect.
The main risks
- Raw meat sitting warm too long
- Cross-contamination on knives or boards
- Improper storage overnight
- Wildlife getting into your food
What to do instead
- Choose lower-risk proteins: canned fish, beans, hard cheese, cured meats
- Keep raw meat to day one if you use it at all
- Store food in sealed containers
- Wash hands before cooking (or use sanitizer)
- Keep cooked and raw items separate
- Pack leftovers only if you can keep them cool
Wildlife awareness
Even in areas without bears, animals love easy calories. Do not leave food out. Seal trash. Store food in the car/van or a secure box where allowed.
Step 6: Water planning for cooking and cleanup
A weekend rule:
- 1.5-2 liters per person per day for drinking (more if hiking)
- Extra for cooking and washing up
If water access is limited, plan meals that use less water, like couscous, wraps, and no-cook lunches.
Step 7: Cleanup without wasting water
The 3-step cleanup method
- Scrape: use a spatula or a piece of bread to remove leftovers (eat it or pack it out).
- Wipe: paper towel or reusable cloth wipe removes most grease.
- Rinse: a small amount of water is now enough.
Use soap sparingly. Wash at least 60 meters from streams or lakes. Dispose of wastewater in a proper drain or scattered in soil (follow local rules).
Step 8: A simple weekend meal plan that works
Day 1
- Lunch: wraps + cheese + salad
- Dinner: one-pot pasta
Day 2
- Breakfast: oats + fruit
- Lunch: no-cook snacks and sandwiches
- Dinner: soup + bread or couscous curry
Day 3
- Breakfast: coffee + quick oats
- Pack-up snack: nuts, chocolate, fruit
Step 9: Camp cooking mistakes to avoid
- Relying on a single lighter (always have a backup)
- Choosing meals that require too many steps
- Forgetting salt and oil (flavor boosters)
- Cooking in strong wind without a safe setup
- Not bringing enough water for cleanup
- Leaving food scraps around camp
Closing: keep it simple, then make it delicious
Camp cooking is a skill you build through repetition. Start with one pot, a reliable stove, and a small set of meal formulas. Once you can cook comfortably in basic conditions, you can add fun extras – coffee rituals, fresh herbs, or a proper breakfast. But the foundation stays the same: simple setup, smart planning, safe habits.