
 Welcome to Outcampers

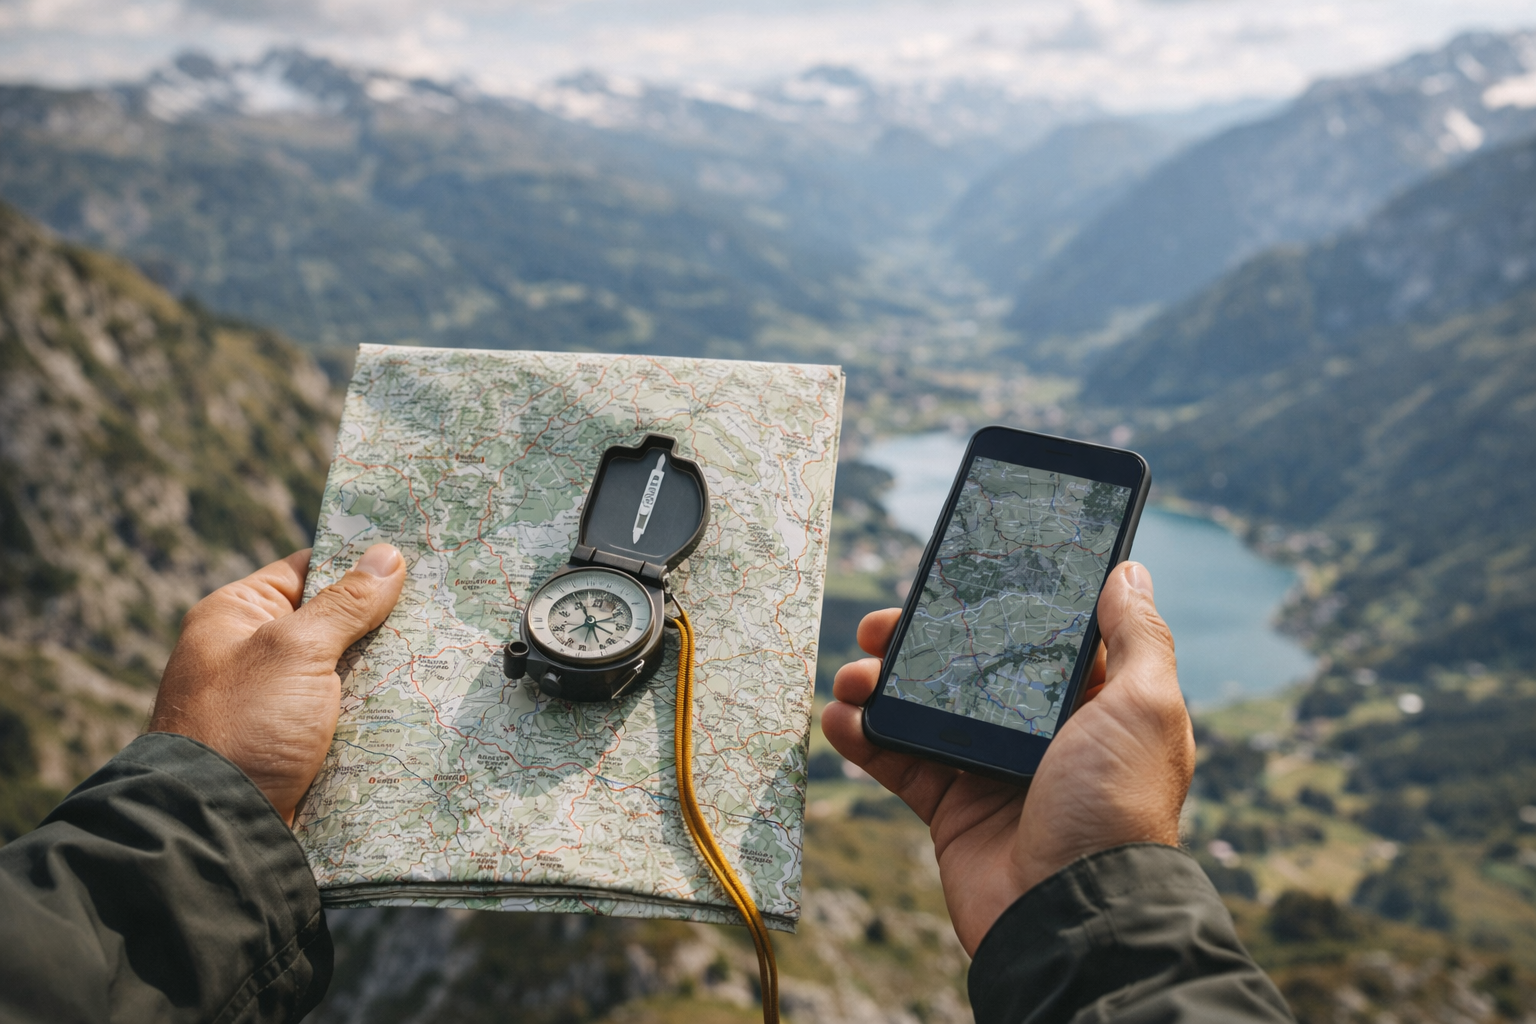
The Beginner Guide to Master Hiking Navigation in 9 Easy Steps
You do not need to be a mountain guide to navigate well. You just need a small set of habits: know where you are, know where you are going, and notice when something changes. Good navigation reduces stress, prevents wrong turns, and makes hiking more enjoyable – especially in fog, forests, or unfamiliar terrain.
This guide covers:
- Map basics that matter
- Compass skills you can learn in 10 minutes
- GPS and phone apps without overtrusting them
- Simple practice drills for real hikes
9 Step Crucial Navigation Skills for Confident and Safe Hiking
Step 1: Start with the mindset: “Always confirm”
Beginners often walk until they are lost, then start checking the map. Flip that: check early, check often. Make it normal to confirm your location every time you pass a trail junction, a bridge, a viewpoint, or a major change in terrain.
Step 2: Understand the map: the three essentials
1) Scale
Scale tells you how far things are. A common hiking map might be 1:25,000 or 1:50,000. The smaller the second number, the more detailed the map.
2) Contour lines
Contours show elevation.
- Lines close together = steep slope
- Lines far apart = gentle slope
- Circular loops often indicate hills or peaks
3) Key features
Identify features that help you locate yourself:
- Rivers, lakes, cliffs
- Forest edges
- Roads, buildings, power lines
- Ridgelines and valleys
Step 3: Learn the “map-up, match-the-world” method
- Hold the map flat.
- Rotate the map so it matches the landscape in front of you.
- Point to visible features and match them to the map: a lake, a ridge, a road.
- Your position becomes more obvious.
If you can match three features, you can usually find your location quickly.
Step 4: Compass basics (without the confusing stuff)
A compass helps you keep direction when the trail is unclear.
The 3 compass skills worth learning
Skill 1: Set a direction of travel
- Put the compass flat in your hand.
- Turn your body until the magnetic needle lines up with the north marker.
- The direction-of-travel arrow now points where you should walk.
Skill 2: Follow a bearing (basic version)
- On the map, draw an imaginary line from your position to your destination.
- Align the compass edge along that line.
- Rotate the housing until the orienting lines match the map’s north-south lines.
- Lift the compass, turn your body until the needle aligns again, then walk.
Skill 3: Handrail and backstop
- A handrail is a feature you follow (river, path, ridge).
- A backstop is a feature that tells you you have gone too far (road, large river crossing, cliff edge).
Step 5: GPS and phone apps: use them, but do not worship them
Phone navigation is excellent when used correctly, but phones have weaknesses: battery can die, screens can be hard in rain/cold, and GPS accuracy can drift.
A safe phone setup for hiking
- Download offline maps before you go
- Put the phone in airplane mode to save battery (GPS still works)
- Carry a power bank and cable
- Keep the phone warm in cold conditions
- Use a waterproof case or zip bag in wet weather
Step 6: A beginner-friendly navigation routine for every hike
Before you start
- Check the route length and elevation gain
- Identify 3-5 key points: junctions, rivers, viewpoints
- Set a turnaround time if daylight is limited
- Tell someone your plan if going remote
While hiking
- Confirm your location at every junction
- Watch your time: distance and elevation take longer than expected
- Use “aiming off” when helpful
If you feel unsure
Stop early. Do not keep walking “to see what happens.” Look around, check map and phone, identify the last point you were certain about, and return to it if needed.
Step 7: Simple practice drills (10 minutes each)
Drill 1: Feature match
On a local walk, pick 5 features and match them to the map.
Drill 2: Follow a bearing in an open park
Set a bearing to a visible object and walk while keeping the needle aligned.
Drill 3: “Where am I?” checkpoints
Every 15 minutes, stop and say: “I think I am here because…” then confirm.
Step 8: Common navigation mistakes (and how to avoid them)
- Only using one tool: carry map/offline map, plus phone, plus basic compass.
- Not checking early: confirm location often.
- Chasing the blue dot: look at your surroundings too.
- Ignoring terrain: plan time for steep sections.
- Not accounting for weather: rely more on compass and handrails.
Step 9: What to pack for navigation (minimal and smart)
- Offline map downloaded (or a printed map)
- Compass
- Power bank
- Small waterproof bag for electronics
- Headlamp
Closing: navigation makes you feel free
Start with map matching, add basic compass skills, use GPS as confirmation, and practice small drills. In a few trips, navigation becomes second nature.